9 Best DIY Refinish Kitchen Cabinet Guide
Table of Contents
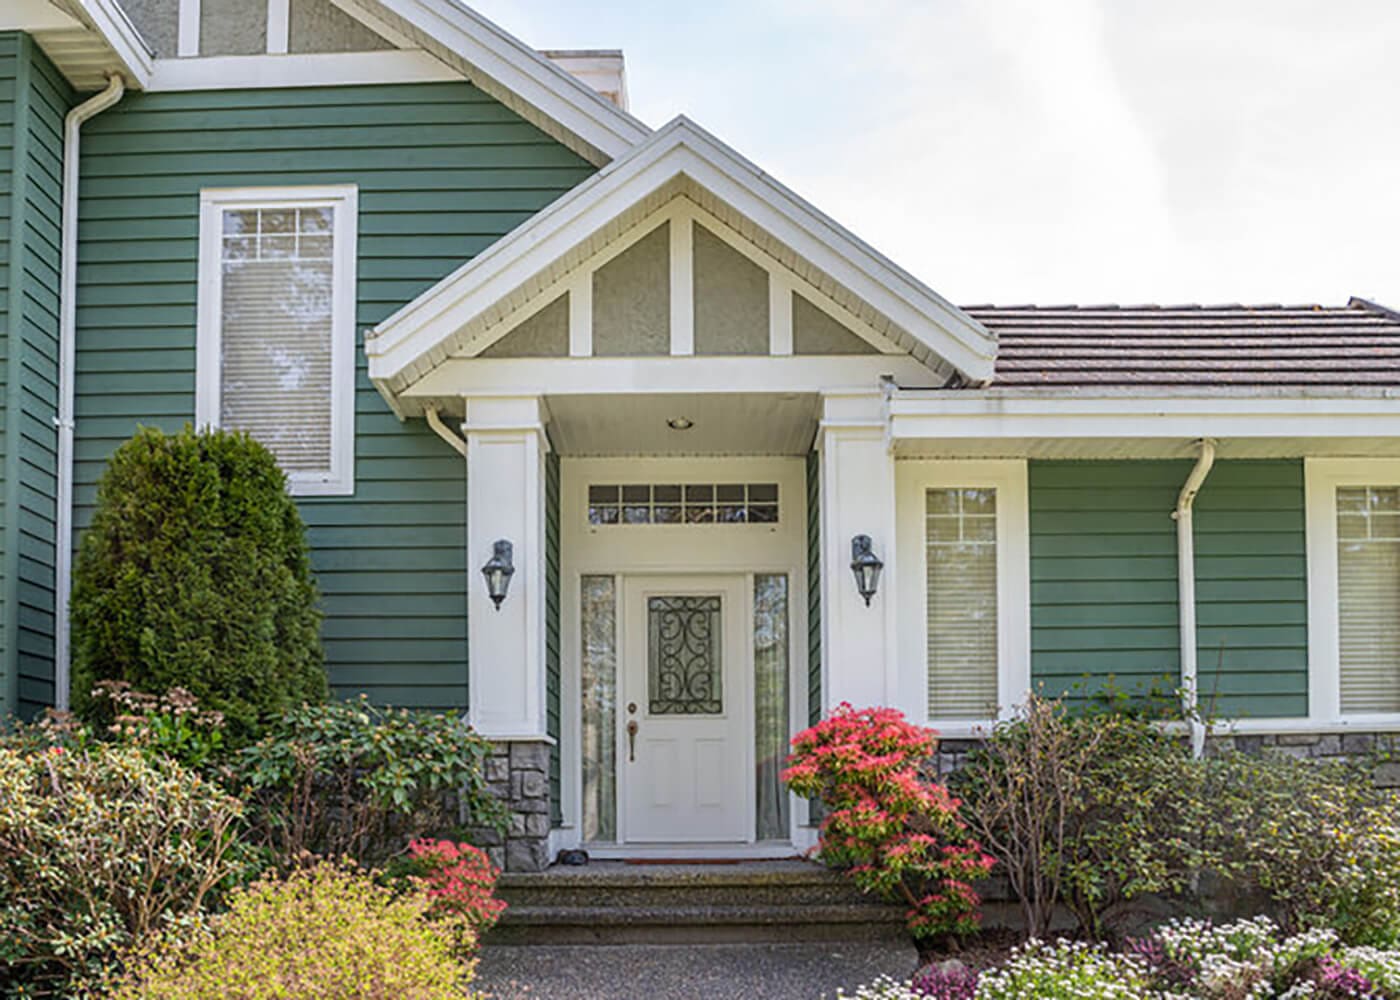
If you’re looking to give your kitchen a fresh and budget-friendly makeover, refinishing your kitchen cabinets can be a fantastic DIY project. Not only does it breathe new life into your space, but it also allows you to express your creativity and style.
In this comprehensive guide, we’ll take you through the steps required to successfully refinish your kitchen cabinets, from gathering the necessary tools to achieving a professional finish. So, roll up your sleeves and get ready to transform your kitchen!
Tools Needed
Before diving into the DIY cabinet refinishing project, it’s essential to gather all the necessary tools and materials.For more detailed guidance and expert tips, you can also check out this resource.
Here’s a list of items you’ll need:
1. Cleaning Supplies
- Degreaser
- TSP (Trisodium Phosphate)
- Sponges and rags
2. Protective Gear
- Gloves
- Safety goggles
- Respirator mask
3. Removal Tools
- Screwdriver
- Drill with screwdriver bits
- Pliers
4. Sanding Equipment
- Sandpaper (various grits)
- Sanding blocks
- Electric or handheld sander
5. Masking Materials
- Painter’s tape
- Plastic sheeting
- Drop cloths
6. Primer and Paint
- High-quality primer
- Cabinet-grade paint
- Paintbrushes and rollers
7. Repair Supplies
- Wood filler
- Putty knife
- Sandable wood glue
With your toolkit ready, let’s proceed with the step-by-step guide to refinish your kitchen cabinets.
Guide for DIY Kitchen Cabinet Refinishing
Clean the Surfaces

The first step in refinishing your kitchen cabinets is thorough cleaning. Remove all dirt, grease, and grime using a degreaser or a TSP solution. This ensures that the paint adheres properly and provides a smooth finish.
Protecting Other Surfaces

Cover your countertops, appliances, and floors with plastic sheeting and drop cloths to protect them from dust and paint splatters during the refinishing process.
Remove Doors and Hardware

Using a screwdriver and drill, remove the cabinet doors and hardware. Label each door and hinge for easy reassembly later.
Sanding

To achieve a smooth finish, sand the cabinet surfaces. Start with a coarse grit sandpaper to remove old paint or varnish and then progress to finer grits for a polished surface.
Mask Off the Cabinets

Use painter’s tape to mask off any areas you don’t want to paint, such as the interiors of the cabinets or any adjoining walls.
Prime the Cabinets

Apply a high-quality primer to the cabinet surfaces. Primer helps the paint adhere and provides better coverage. Allow it to dry thoroughly before moving on.
Repair Wood Surfaces

Inspect your cabinets for any dents, dings, or holes. Fill these imperfections with wood filler and sand them smooth once dry.
Apply Paint

Now comes the fun part – painting! Apply the cabinet-grade paint evenly using brushes and rollers. Multiple thin coats are better than one thick one for a professional finish.
Remove Masking

Carefully remove the painter’s tape and plastic sheeting once the paint is dry to the touch, but not fully cured.
Considering Professional Help
While DIY cabinet refinishing is rewarding, it can be time-consuming and challenging for beginners. If you’re not confident in your skills or want a flawless finish, consider hiring a professional cabinet refinisher.
Conclusion
Refinishing your kitchen cabinets is an affordable and rewarding DIY project that can dramatically transform your kitchen’s appearance. Professional Painters in Rhode Island suggest following a detailed step-by-step guide, gathering the necessary tools, and considering factors like bristle type, brush size, and paint compatibility to achieve professional results. Proper preparation, including cleaning, sanding, and priming, is essential for a smooth finish.
Professional Painters in Connecticut emphasize the importance of patience and careful execution for a lasting and stunning finish. For those seeking perfection or facing challenges, Professional Painters in Massachusetts recommend considering professional help as a viable option. With the right approach, your refinished cabinets will not only look stunning but also last for years.
FAQs
Q1: How long does it take to refinish kitchen cabinets?
A1: Cabinet refinishing usually takes 3 to 5 days, but this can vary based on complications and the type of finish change. Dismounted cabinets speed up the process, especially with a well-organized workspace. Transitioning from opaque to clear finish takes more sanding time, while the reverse is quicker.
Q2: Can I use any paint for kitchen cabinet refinishing?
A2: When deciding on the level of sheen for your paint, it’s important to consider the room’s function and your desired paint performance. Here’s a guide to help you make the right choice:
Flat: No shine. Conceals imperfections but can be challenging to clean. Ideal for ceilings, walls, and low-traffic areas.
Matte: Nearly shine-free. Hides imperfections and withstands cleaning. Suitable for walls, family rooms, living rooms, dining rooms, and bedrooms.
Eggshell: Highly popular. Almost shine-free, yet durable and easy to clean. Recommended for family rooms, living rooms, dining rooms, bedrooms, bathrooms, and kitchens.
Satin: Slightly glossier than eggshell. Resistant to stains and durable. Best for high-traffic walls, bathrooms, kitchens, windows, shutters, trim, and interior doors.
Semi-gloss: Provides a smooth finish. Ideal for trim, doors, and kitchen cabinets.
Gloss: Mirror-like shine. Easy to clean and resistant to stains. Perfect for trim, doors, cabinets, and architectural details.
Q3: How long do refinished cabinets last?
A3: Cabinets that have been repainted have the potential to endure for a substantial period, ranging from eight to 15 years. Nevertheless, the key factor in achieving this longevity lies in the quality of the painting job.
Opting for higher-quality paint is advisable to secure a more extended lifespan for the finish, as lower-grade paints may begin to show signs of chipping within a few years. Additionally, you can extend the cabinets’ lifespan by handling them with care when opening and closing.