How to Paint Cabinets: What the Professional Process Actually Involves
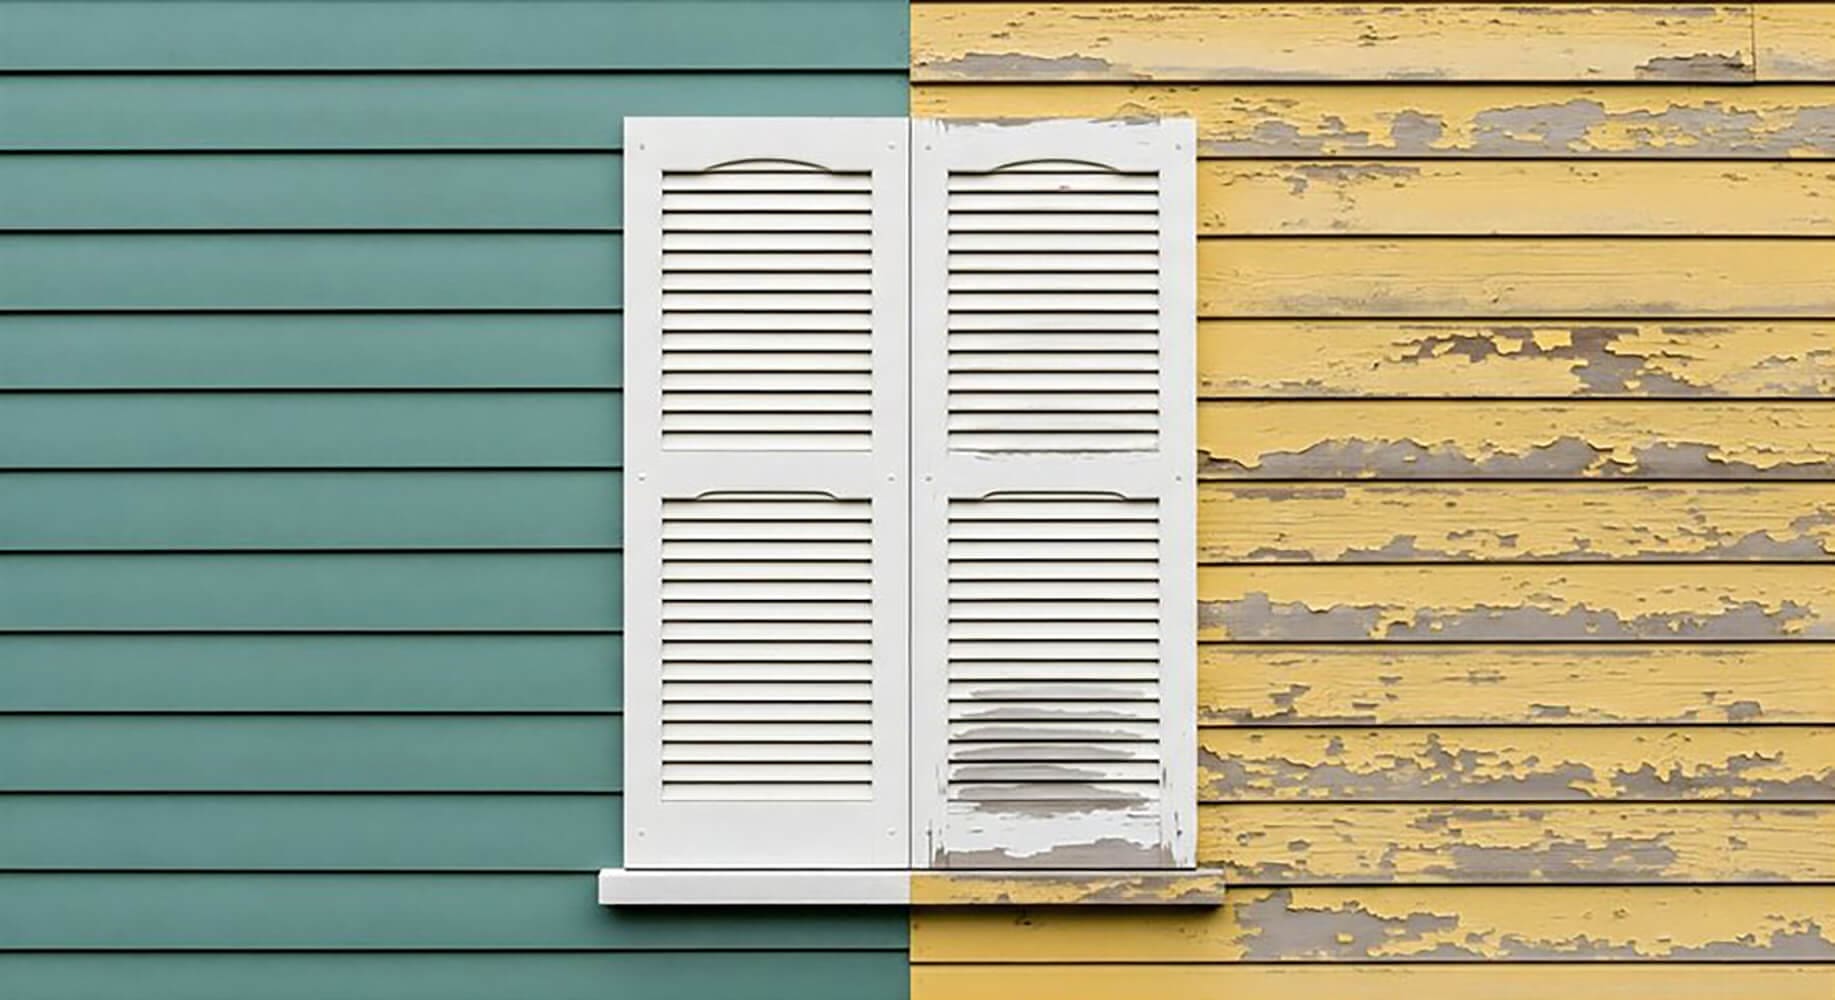
Most homeowners reach the same point eventually. The cabinets still work fine, but the finish looks worn, the color feels dated, or years of use have left them looking tired. Cabinet painting comes up as a solution, and it makes sense on paper. What surprises most people is how much the professional process differs from what they imagined.
Knowing how to paint cabinets at a professional level is not just about applying a fresh coat of color. It is a multi-stage process that requires evaluation, preparation, and proper application technique. Understanding what that process actually involves helps homeowners know what to expect, what questions to ask, and why professionally painted cabinets look and last the way they do.
Here is a clear breakdown of each stage from assessment through final inspection.
Step 1 — Assessment: Are Your Cabinets the Right Candidate for Painting?
Before any work begins, a professional evaluates whether the cabinets are actually a good candidate for painting. Not every set of cabinets is. Painting over a compromised surface produces a finish that will not hold up, and no amount of skill in the later stages can fix a problem that exists at the foundation.
The assessment looks at several factors:
- Cabinet box integrity — whether the frames are solid and securely mounted
- Door and drawer condition — whether surfaces are stable and free from significant damage
- Material type — how the existing material will respond to cleaning, sanding, and primer
- Existing finish — what is already on the surface and how well it can be prepared
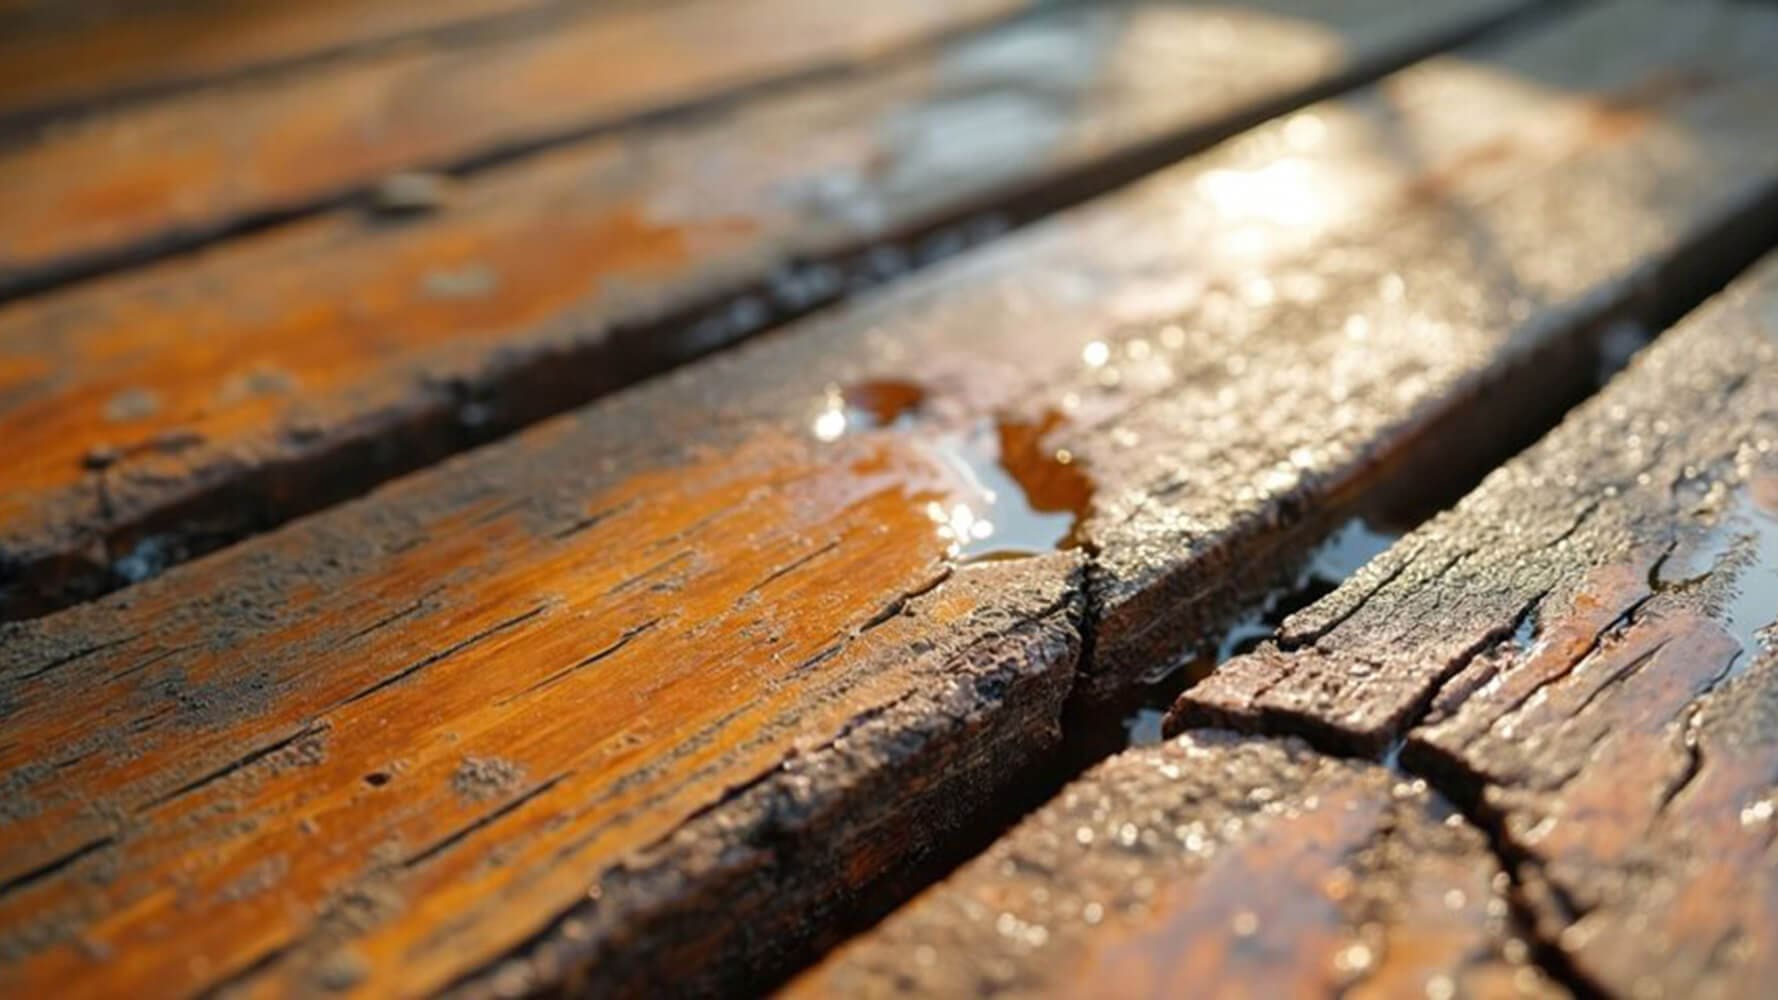
- Evidence of water damage, warping, or delamination
What the professional is determining is whether the surface can accept and hold a new finish long-term. If the cabinets do not meet that standard, an honest professional will say so. The recommendation in those cases is typically repair, refacing, or replacement rather than painting over a surface that will cause the finish to fail prematurely.
This stage protects the homeowner. Spending money on a professional paint job only makes sense when the cabinets underneath can support the result.
Step 2 — Preparation: The Stage That Determines How to Paint Cabinets Successfully
Preparation is the most labor-intensive stage of the entire process and the one most responsible for whether the finished result holds up. It involves three distinct components, each of which builds on the one before it.
Cleaning and Degreasing
Kitchen cabinets collect grease, cooking residue, and grime over time. Much of it is not visible to the naked eye, but it is there on every surface that sits near a stove or sees regular hand contact.
Professional-grade degreasers remove contamination that standard household cleaners do not reach. This matters because paint applied over any residue will not bond properly to the surface beneath it. No matter how well the rest of the job is executed, grease under the finish will cause it to peel.
All doors and drawer fronts are removed before this stage begins. Working with surfaces flat and detached from the cabinet boxes allows for more thorough cleaning and better results throughout the rest of the process.
Sanding and Surface Repair
Once the surfaces are clean, sanding begins. The purpose is not to strip the cabinets down to bare wood. It is to scuff the existing finish so the new coating has something to bond to.
During this stage, professionals also address any minor damage they find:
- Small dents and chips are filled
- Scratches are smoothed out
- Any rough areas or raised grain are leveled
The goal is a surface that is uniformly smooth and free of imperfections before any primer goes on. This stage takes time, and it should. Rushing through sanding is one of the most common reasons cabinet painting jobs look uneven or fail early.
Priming
Primer is not a shortcut or an optional step. It seals the surface, blocks any remaining stains from bleeding through, and creates the foundation the topcoat bonds to.
Professionals select primer based on the specific cabinet material and existing finish. The right primer for a raw wood cabinet is different from what works on laminate or a previously painted surface. Using the wrong product, or skipping primer entirely, is what separates a finish that holds up for years from one that starts chipping within months.
Step 3 — Application: How Professionals Achieve a Factory-Quality Finish
Application is the stage most homeowners picture when they think about cabinet painting. It is also the stage that looks most straightforward from the outside while requiring the most precision to execute well.
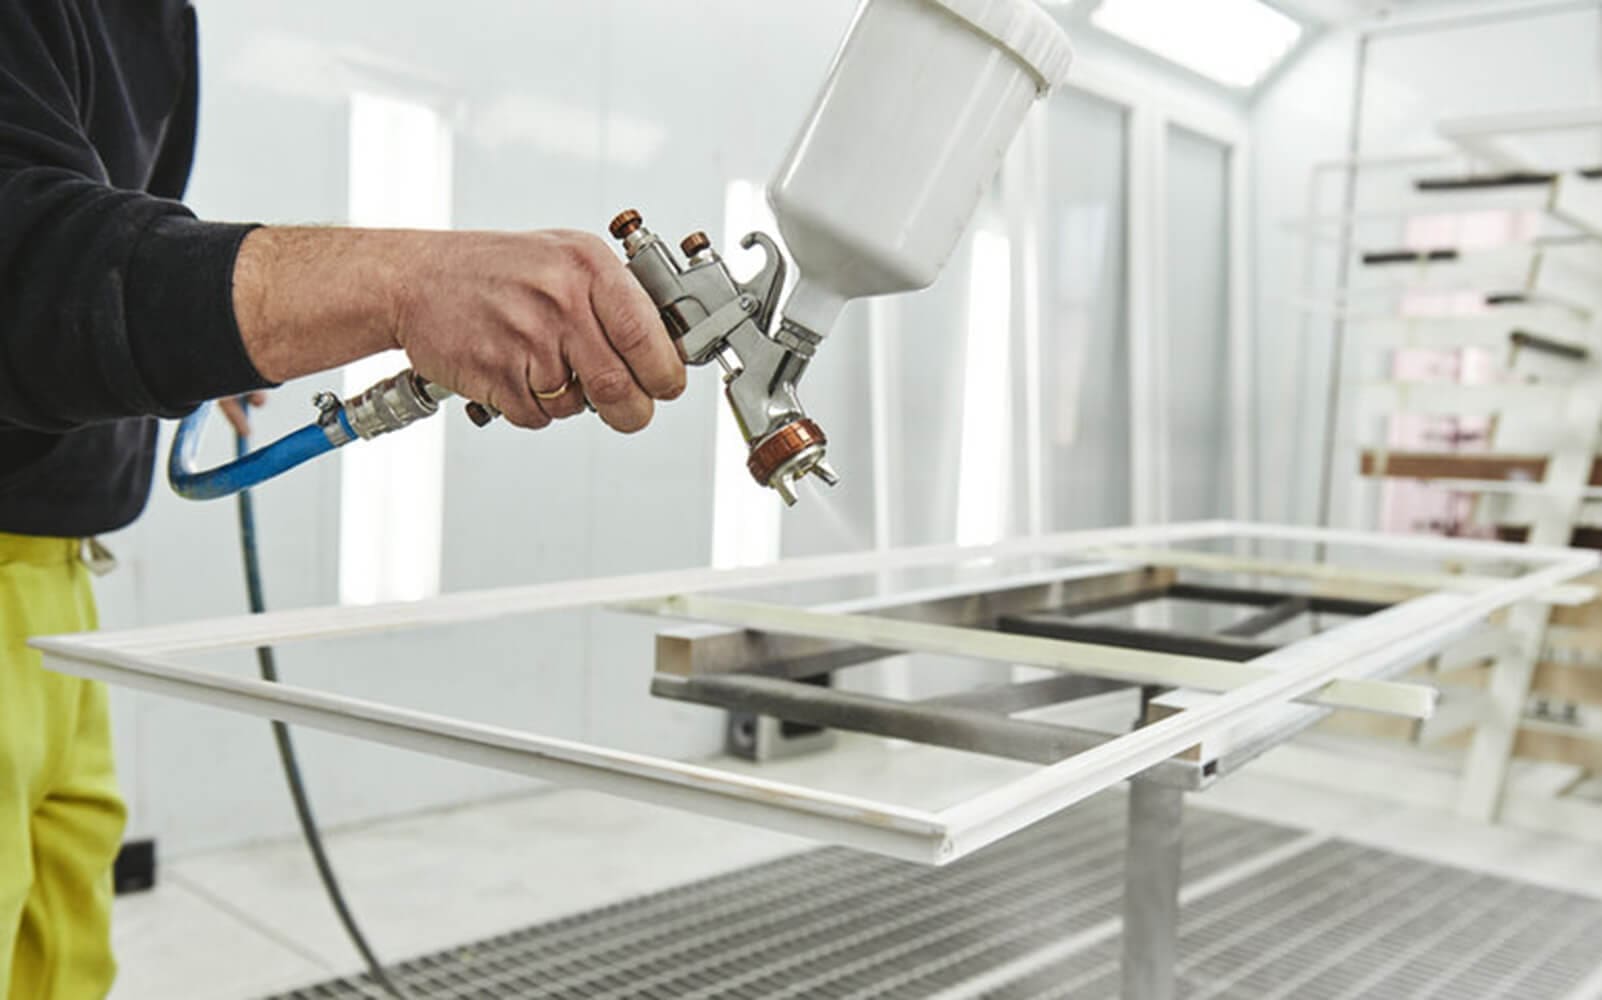
Spray Application
Most professional cabinet painters use spray equipment rather than brushes or rollers to apply finish. Spray application delivers a smooth, even coat across every surface simultaneously, reaching into profiles and details that hand tools cannot cover consistently.
Doors and drawer fronts are typically removed and sprayed flat in a controlled environment. Spraying flat surfaces horizontally eliminates the risk of runs and allows the finish to settle evenly before it cures. The result is a surface that looks factory-made, consistent and smooth across every door and frame.
Coats, Curing, and Why Rushing This Stage Fails
Professional cabinet painting involves multiple thin coats rather than one heavy application. Each coat is allowed to dry fully before the next is applied. The reasons for this are practical:
- Thin coats level out more evenly and reduce the risk of runs or texture
- Each layer bonds more securely when applied over a fully dried surface
- The cumulative result is a finish with more depth and durability than a single heavy coat provides
Curing is a separate consideration from drying. A cabinet surface can feel dry to the touch while the finish underneath is still hardening. Professional-grade cabinet coatings require full cure time before doors are rehung and hardware is reattached. Reassembling too early leads to marks, dents, and adhesion failure at the points where doors contact frames.
Homeowners should expect the kitchen to be out of commission for several days during a professional cabinet painting project. That timeline is built into the process intentionally and is part of what makes the result last.
Step 4 — Reassembly and Final Inspection
Once the finish has fully cured, doors and drawer fronts are reinstalled and hardware is reattached. This is also a natural point for homeowners to upgrade handles, knobs, or hinges if they want a more complete refresh without additional construction.
Before the job is considered complete, a professional conducts a thorough inspection:
- Doors are checked for proper alignment and smooth operation
- The finish is reviewed across all surfaces for consistency
- Any areas that need touch-up work are addressed before sign-off
The homeowner should walk through the finished result with the professional. A final walkthrough ensures that every door opens cleanly, every surface looks consistent, and the homeowner is satisfied before the project closes.
What a Professional Cabinet Painting Project Delivers Long-Term
When each stage is executed correctly, the results hold up. Professionally painted cabinets resist the moisture, cleaning products, and daily contact that kitchen surfaces face. The finish does not chip easily at edges or wear through at the points where hands make regular contact.
The visual outcome is a kitchen that looks updated and intentional without the cost or disruption of tearing out and replacing the cabinets entirely. For homeowners whose cabinet boxes are in solid condition and whose layouts still work well, professional painting delivers a high-quality result at a fraction of what replacement costs.
What makes that outcome possible is the process described above. Each stage depends on the one before it. Shortcuts at assessment lead to painting cabinets that cannot support the finish. If you take shortcuts at preparation, it could lead to finishes that do not bond. Shortcuts at application or curing lead to results that look good briefly and then deteriorate. Done correctly, the process produces cabinets that look professional because they were treated that way from the first step.
See What Professional Cabinet Painting Could Do for Your Kitchen
If your cabinets are starting to show their age and you want to understand whether painting makes sense for your space, we can help you figure that out. We evaluate cabinets in person before recommending any course of action, and we will tell you honestly whether painting is the right fit or whether a different approach makes more sense.
Visit our cabinet refinishing page to learn more about how we work, or reach out directly to schedule an assessment for your kitchen.