How to Touch Up Wall Paint Without Leaving Marks
Freshly painted walls create a clean, polished look that makes a home feel well cared for. But over time, even the best paint jobs start to show wear. Small chips, scuffs, or nail holes appear, and many homeowners attempt to fix them with a quick dab of paint. Unfortunately, this often leads to patchy, uneven results that draw more attention to the damage.
That’s why understanding how to touch up wall paint without leaving marks is so important. Professional painters know that seamless touch-ups require more than just matching color—they involve surface preparation, sheen alignment, and expert blending techniques.
In this blog, we’ll cover why wall paint touch-ups so often leave streaks, how professionals approach them step by step, and when a complete repaint may be the smarter option. By the end, you’ll know why calling in experts ensures flawless, frustration-free results.
Why Wall Paint Touch-Ups Often Leave Marks
Touch-ups may sound simple, but they’re one of the most challenging parts of painting. Even when homeowners use the exact same paint, the results can still look uneven. The reason comes down to how paint changes over time, how it’s applied, and how light interacts with a wall surface.
Common Causes of Patchiness
Professional painters know the biggest culprits behind streaks and blotches:
- Paint aging and fading – Over months or years, paint gradually shifts in tone due to sunlight, humidity, and regular cleaning. A dab of fresh paint looks different against the older surface.
- Sheen differences – Matte, eggshell, satin, and semi-gloss finishes each reflect light differently. If the sheen of the touch-up doesn’t match exactly, the patch is obvious.
- Application texture – A roller leaves a distinct pattern compared to a brush. If the wrong tool is used, the difference shows under angled light.
- Surface inconsistencies – Dings, dents, or dirt around the touch-up spot can cause the paint to absorb unevenly, creating flashing or shiny spots.
Instead of relying on a quick dab, professionals approach touch-ups with careful evaluation. They test how the existing paint has aged, compare sheen under natural and artificial light, and choose application methods that match the original finish. This level of detail makes all the difference between a seamless wall and one full of distracting blotches.
Steps to Touch Up Wall Paint Without Leaving Marks
When professionals approach wall touch-ups, they don’t rely on guesswork. They follow a structured process that ensures repairs blend seamlessly. Each step—preparation, matching, application, and blending—plays a role in achieving a flawless result.
Step 1 – Prepare the Wall Surface Correctly
The foundation of any good paint job is proper prep. A wall with dirt, residue, or uneven texture will never produce an invisible touch-up.
Professionals take the time to:
- Clean the area to remove oils, dust, and surface grime that could interfere with adhesion.
- Sand lightly around the blemish to feather rough edges and create a smooth surface.
- Repair dents or holes with spackle or filler, ensuring the wall is level before painting.
- Prime the repair area if needed, so the fresh coat absorbs evenly and avoids flashing.
This step ensures that new paint bonds properly and doesn’t highlight imperfections.
Step 2 – Match Paint Color and Sheen Accurately
Color alone won’t guarantee success—sheen and batch matter just as much.
Professionals evaluate:
- Color aging: Original paint often looks slightly different due to fading from light exposure.
- Sheen consistency: Eggshell, satin, and matte finishes reflect light differently. Even the right color can look wrong with mismatched sheen.
- Paint quality: Old cans may have separated or lost integrity. Professionals know when new paint is needed.
They often test small swatches on the wall under different lighting conditions to ensure the new coat blends invisibly.
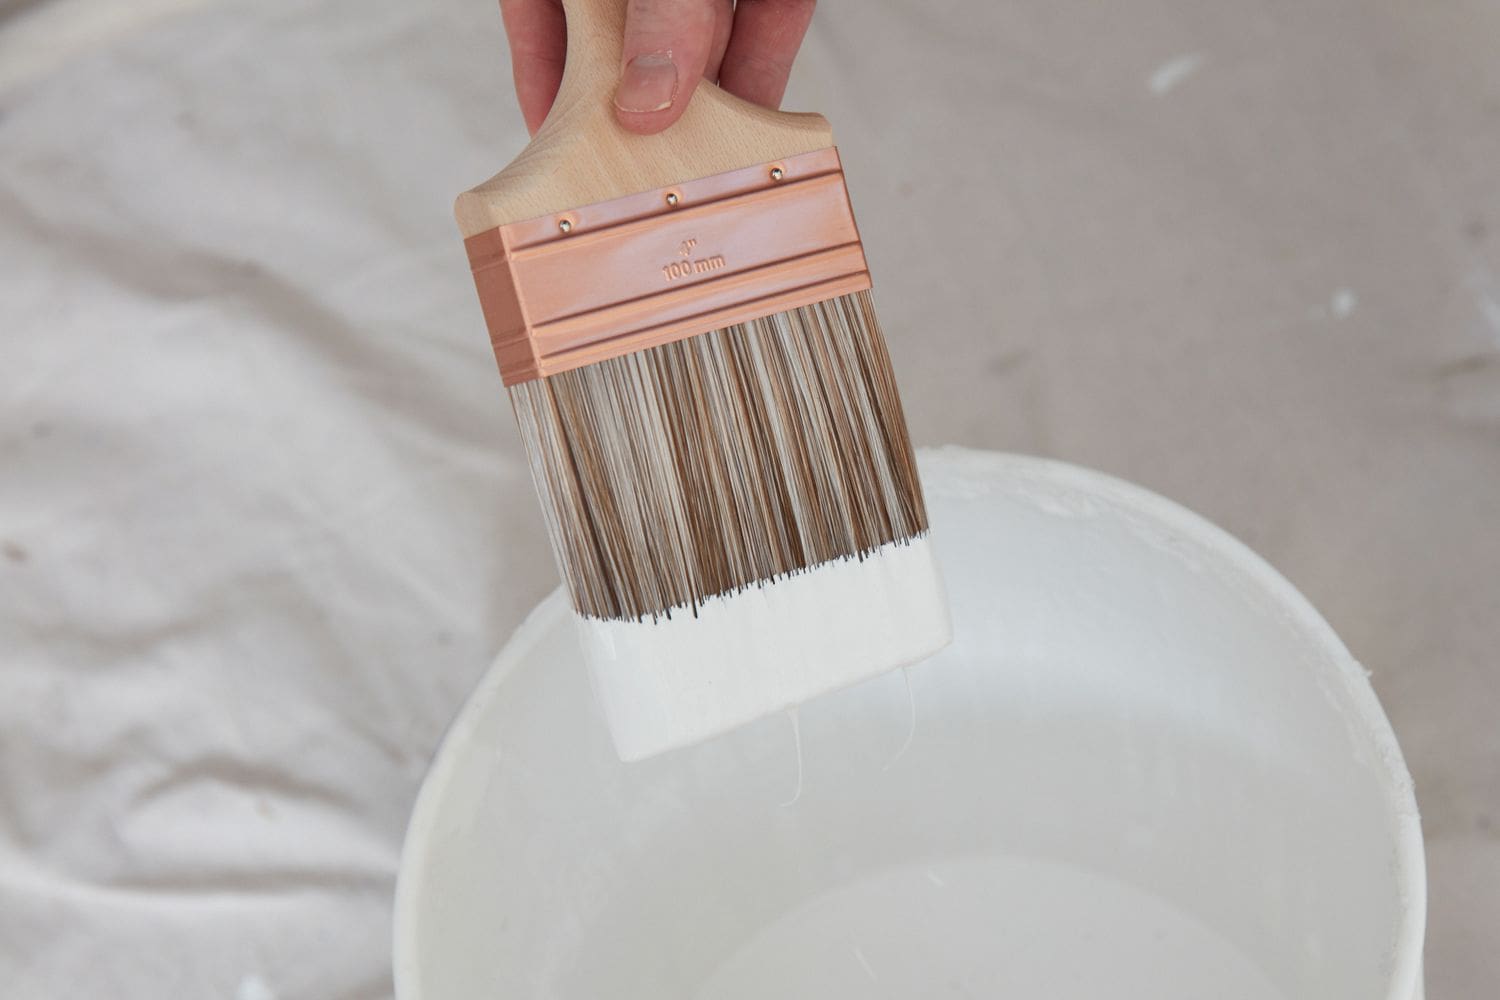
Step 3 – Use the Right Tools and Techniques
The wrong tool is one of the fastest ways to ruin a touch-up.
- Rollers are used for large wall surfaces to recreate the same stippled texture.
- Brushes work for trim or corners where detail is critical.
- Sprayers are used for smooth finishes, especially on wide or high-visibility walls.
Professionals also apply thin, even coats, avoiding overloading brushes or rollers. This prevents streaks and helps achieve consistent coverage across the repaired area.
Step 4 – Blend the Paint Seamlessly
Even after perfect prep, matching, and application, blending is what makes a touch-up invisible.
Experts use techniques like:
- Feathering edges to soften the transition between old and new paint.
- Overlapping strokes into surrounding areas so the repair doesn’t stand out.
- Mimicking the original direction of application to keep texture consistent.
This careful blending is why professionals know how to touch up paint without patchiness and why DIY fixes often fall short.
When a Full Repaint Is the Better Option
Not every wall blemish can be hidden with a touch-up. In fact, there are situations where repeated attempts at small fixes only make the problem worse. Professional painters know when it’s time to put the brush down and recommend a complete repaint instead.
Signs That a Touch-Up Won’t Work
Here are the most common reasons pros advise painting the entire wall—or even the whole room:
- Widespread wear and tear: If chips, scratches, or scuffs cover multiple walls, isolated fixes will create a patchwork look.
- Color fading or yellowing: Sunlight and time can significantly alter the original tone. Fresh paint applied to faded walls will always stand out.
- Sheen inconsistencies: A new patch can flash under light if it doesn’t perfectly match the old sheen. Sometimes the only way to restore uniformity is repainting.
- Surface damage: Cracking, bubbling, or peeling often signals deeper issues that require more than a surface-level fix.
Why Repainting Pays Off
A fresh coat across the full surface ensures consistency, durability, and a polished finish. While it’s a bigger investment than touch-ups, it prevents the frustration of patchiness and extends the life of your walls. Professionals also take the opportunity to use updated formulas—like low-VOC or washable paints—that make maintenance easier moving forward.
By knowing when to recommend a repaint, experts save homeowners from wasting time and money on endless touch-ups that will never quite blend.
Get Professional Help for Flawless Wall Paint Touch-Ups
Touching up wall paint may look like a simple task, but the reality is very different. What often begins as a quick fix can turn into a frustrating cycle of streaks, patches, and visible blemishes. Without the right prep, color match, and application method, walls rarely look seamless after a touch-up.
Professional painters bring the expertise, tools, and trained techniques required to get it right. They know how to blend touch-up paint seamlessly, match color and sheen under different lighting, and prepare surfaces so that new paint disappears into the old. Instead of highlighting the problem, a pro ensures the finish looks uniform across the entire wall.
Frustrated by wall touch-ups that never blend in? Our professional painters know how to touch up wall paint without leaving marks, using expert prep, matching, and blending techniques. We deliver smooth, consistent results that restore your walls without the headache of patchiness.
Contact us today to schedule your touch-up consultation and see how a professional approach makes all the difference.