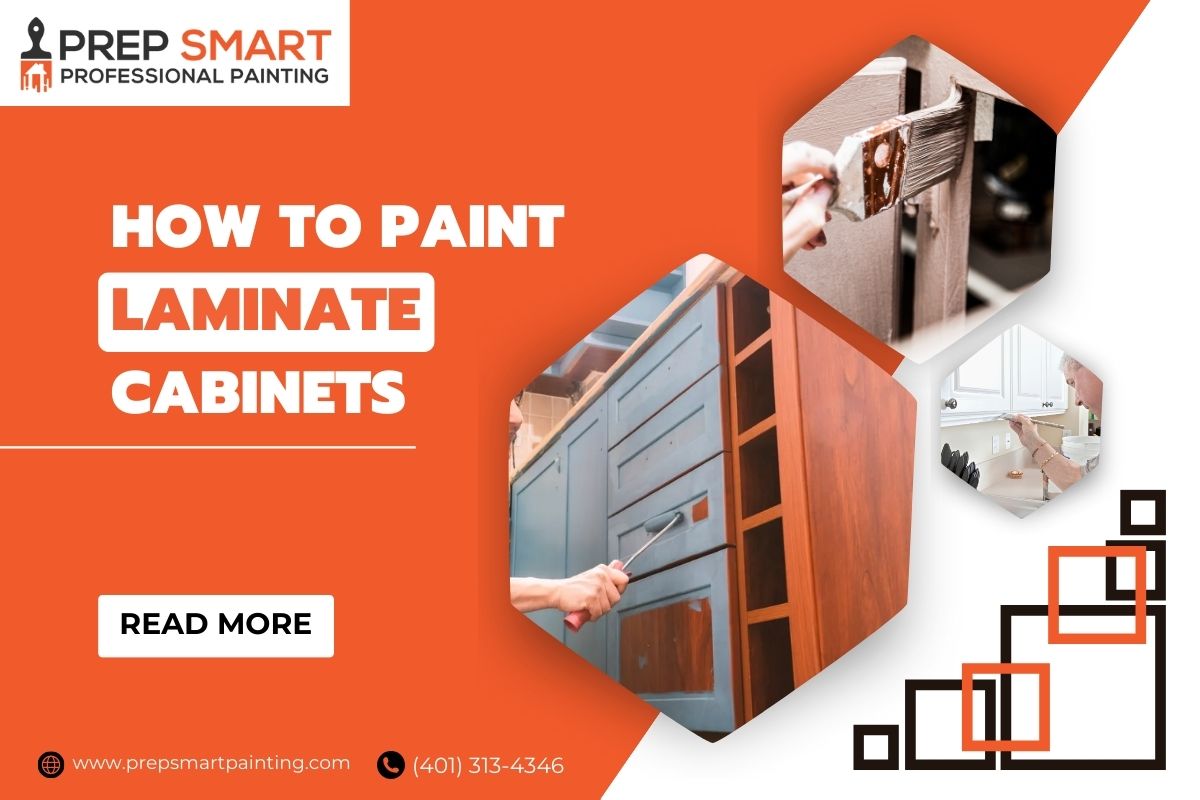
How to Paint Laminate Cabinets
Welcome to the Prep Smart Painting guide on how to paint laminate cabinets. This step-by-step tutorial is designed to help you transform the look of your cabinets from dull to dazzling with just a few tools and some elbow grease. Whether you’re tackling your kitchen, bathroom, or any space with laminate surfaces, we’ve got you covered from start to finish.
Benefits of Painting Laminate Cabinets
Embracing a DIY project like painting your laminate cabinets not only revitalizes the look of your space but also brings several practical advantages. Here’s why this upgrade is beneficial:
- Cost-Effective Update: Painting your laminate cabinets is significantly more affordable than replacing them. It allows for a refreshing update to your space without the high costs associated with new cabinetry.
- Customization: With paint, you can choose from an endless variety of colors and finishes to perfectly match your home’s decor. This level of customization lets you express your style and create a unique look.
- Improved Durability: Applying a new layer of paint can enhance the durability of your cabinets. The right type of paint and primer can protect against moisture, stains, and everyday wear, extending the life of your cabinets.
- Eco-Friendly Option: Painting existing cabinets is an environmentally friendly choice. By refurbishing what you already have, you reduce waste and the demand for new raw materials, contributing to sustainability.
- Increased Home Value: Freshly painted cabinets can boost the overall appeal of your home, making it more attractive to potential buyers if you’re considering selling. This small change can significantly influence buyer perceptions and potentially increase the market value of your property.
Materials and Tools Needed
Embarking on your how to paint laminate cabinets project requires careful selection of materials and tools. Here’s what you’ll need along with explanations of their specific purposes:
- Paint (types and brands): Opt for high-quality acrylic or latex paint designed specifically for laminate surfaces. Brands like Benjamin Moore and Sherwin-Williams are recommended for their durability and smooth finish. Paint not only transforms the appearance but also forms the final protective coating on your cabinets.
- Primer (specific for laminate): Use a bonding primer to ensure that your paint adheres properly to the laminate surface. A good primer labeled as “adhesion primer” or “bonding primer” is crucial for creating a surface that the paint can bond to effectively.
- Sandpaper (various grits): Start with coarse-grit sandpaper to roughen up the laminate surface, enhancing the adhesive properties of the primer. Finish with a finer grit to smooth out the surface, preparing it for a flawless paint application.
- Cleaning Supplies (degreaser, cloths): A strong degreaser will remove any grease and oil, critical for preventing paint from peeling. Use microfiber cloths to clean and dry the surface as they leave no lint behind, ensuring a clean canvas.
- Painters Tape: This is essential for protecting walls, countertops, and other surfaces adjacent to your painting area. It helps achieve sharp, clean lines and prevents paint from getting on unintended surfaces.
- Brushes and Rollers: Select high-quality synthetic brushes for detailed areas and foam rollers for flat, large surfaces. The right tools here help achieve a smooth, even coat without brush marks or bubbles.
- Protective Gear (gloves, mask): Safety is paramount. Gloves protect your hands from paint and harsh chemicals, while a mask should be worn to avoid inhaling fumes, particularly important in areas with limited ventilation.
These tools and materials are foundational for successfully completing your painting laminate kitchen cupboards project, ensuring both a beautiful finish and a safe working environment.
Preparation
Proper preparation is essential for achieving professional-quality results when you undertake the task of how to paint laminate cabinets. Here’s how to prepare your cabinets effectively-
Cleaning the Cabinets
- Thoroughly clean laminate surfaces with a degreaser that can remove grease without leaving residue. Use a microfiber cloth to avoid scratching the laminate.
Sanding the Surface
- Lightly sand the laminate with fine-grit sandpaper to scuff the glossy surface, which is essential for helping the primer adhere. Ensure you do not sand through the laminate layer.
Repairing Damage
- Use a laminate repair paste for any chips or scratches. This specific filler adheres well to laminate and can be sanded smooth once it dries.
While these preparations are tailored to the glossy and non-porous nature of laminate, other general cabinet preparation techniques, such as proper cleaning and handling of hardware, are similar to those for more traditional materials. For a comprehensive guide on these additional practices, you can refer to the blog “How to Paint Cabinets” by Prep Smart Painting. This resource provides further details to help you achieve a flawless finish, regardless of your cabinet’s material.
Priming
Proper priming is essential when you’re set to paint laminate cabinets. It ensures that your paint will adhere correctly and provide a durable finish. Here’s how to select and apply primer effectively:
Choosing the Right Primer
- Choose a high-quality adhesion-promoting primer that is specifically formulated for glossy, non-porous surfaces like laminate. Brands like Zinsser’s B-I-N or KILZ Adhesion are ideal because they’re designed to bond strongly with laminate, ensuring that the paint adheres well and withstands wear and tear.
Applying the Primer
- Use the Right Tools: Use a high-density foam roller for applying primer on large, flat laminate surfaces. This tool helps achieve a smooth, even layer without the texture that brushes might leave. For getting into edges and tighter spots, use a quality angled brush to ensure precise coverage.
- Apply Thin Layers: It is crucial to apply multiple thin layers of primer rather than a single thick layer. Thin layers dry faster and more uniformly, reducing the risk of creating drips or thick spots that can lead to an uneven surface.
- Overlap Your Strokes: Ensure you slightly overlap each stroke when using a roller. This technique is vital to cover the entire surface uniformly, preventing missed spots that could result in poor paint adhesion.
Drying Time
- Allow the primer to dry completely before painting laminate cabinets, as their impermeable nature requires thorough drying. Generally, wait 4-6 hours, but always consult the primer’s specifications for the best results. Proper drying ensures a solid base for the topcoat.
Troubleshooting Common Primer Issues
Here’s a table addressing common issues encountered when priming, along with solutions:
|
Common Issue |
Possible Cause |
Solution |
|
Primer Not Adhering |
Insufficient cleaning or sanding |
Ensure the surface is thoroughly cleaned and sanded. Reapply primer after preparing the surface properly. |
|
Streaks or Uneven Texture |
Application of thick layers, wrong tools |
Sand down rough spots gently. Reapply primer using a high-density foam roller for even, thin layers. |
|
Drying Too Slowly |
Poor ventilation, low temperature |
Improve room ventilation and increase the temperature if possible. Use a fan to circulate air and help the primer dry faster. |
|
Bubbling or Peeling |
Moisture trapped under the primer |
Check for leaks or dampness before priming. Ensure the surface is completely dry. Sand down the affected area and reapply primer correctly. |
By utilizing this table, you can quickly diagnose and resolve issues that may arise during the priming phase of your how to paint over laminate cabinets project. This approach helps maintain the momentum of your renovation and ensures a smoother, more professional finish.
Finishing Touches
Now that you’ve applied the final coat of paint for laminate cabinets, it’s time to add the finishing touches. These steps will ensure your cabinets not only look fantastic but also stand the test of time. Let’s complete your how to refinish laminate cabinets project with some essential final details.
Touching Up Edges and Details
After reattaching the doors, inspect your work for any areas that might need a bit of touch-up. This often includes edges and corners where the paint might be thinner or uneven. Use a small brush to carefully touch up these areas, ensuring a smooth and consistent finish. Paying attention to these small details will make your how to refinish laminate cabinets project look professional and polished.
Applying a Protective Topcoat
To ensure your newly painted cabinets stand the test of time, applying a protective topcoat is essential. This not only enhances the durability of the paint but also gives your cabinets a finished look.
Types of Topcoats and Their Benefits
- Polyurethane: This is a popular choice for its durability and resistance to scratches and stains. It comes in both oil-based and water-based formulas. Oil-based polyurethane tends to be more durable, but it can yellow over time, while water-based polyurethane is clear and less likely to yellow.
- Polycrylic: This is a water-based topcoat that is easy to apply and dries quickly. It’s less durable than polyurethane but still provides good protection and is ideal for lighter colors as it doesn’t yellow.
- Wax: While not as durable as polyurethane or polycrylic, wax can give a beautiful, soft finish. It’s best used on furniture that won’t be exposed to heavy wear and tear.
Applying a protective topcoat is straightforward. Use a clean brush or a roller designed for smooth surfaces, and apply the topcoat evenly over the painted surfaces. Let it dry completely before handling the cabinets.
Cleaning Up
The final step in your how to paint laminate cabinet project is cleaning up. Make sure all brushes, rollers, and other tools are thoroughly cleaned according to the paint and topcoat manufacturer’s instructions.
Maintenance and Care for Painted Laminate Cabinets
Painted laminate cabinets look beautiful and fresh after a how to refinish laminate cabinets project but require specific maintenance steps to keep them looking their best. Here’s what you need to know:
1. Tips for Maintaining Painted Cabinets
- Avoid Excessive Moisture: Laminate doesn’t fare well with prolonged exposure to water. Avoid using a wet cloth for daily cleaning; instead, opt for a damp cloth followed by a dry wipe to prevent water from seeping into seams or joints, which could damage the laminate and paint.
- Use Gentle Cleaning Products: Harsh chemicals can strip the paint, causing it to peel or discolor. Use gentle, non-abrasive cleaners specifically designed for painted surfaces. Avoid ammonia-based products as they can deteriorate the paint over time.
- Regular Dusting: Dust can accumulate and scratch the surface if not cleaned regularly. Use a soft microfiber cloth for dusting your painted cabinets to keep them smooth and scratch-free.
2. Cleaning Recommendations
- Routine Cleaning: For routine cleaning, use a soft cloth or sponge with warm water and a mild soap. This is sufficient to remove everyday fingerprints and spills without damaging the paint.
- Dealing with Stains: If you encounter stubborn stains, a paste of baking soda and water can be gently applied. Allow it to sit for a few minutes before wiping off gently with a soft, damp cloth.
- Avoid Abrasive Tools: Never use scouring pads or abrasive cleaners on painted laminate cabinets as they can scratch and dull the finish. Always opt for the softest cleaning materials.
3. Touch-up Tips for Long-Term Care
- Quick Touch-Ups: Keep a small amount of the original paint used on hand for quick touch-ups. Use a small artist brush to fix chips or scratches immediately to prevent further damage.
- Annual Check-Up: Once a year, inspect your cabinets closely for any signs of wear or damage. Address these areas promptly with the correct primer and paint to maintain the integrity of the finish.
- Hardware Maintenance: Tighten screws and hinges annually as loose hardware can cause wear and damage to the doors and their painted finish.
By following these maintenance and care tips specifically designed for painting laminate kitchen cupboards and other painted laminate surfaces, you help ensure that your cabinets remain in top condition, extending their lifespan and keeping them looking fresh and new.
Safety Precautions for Painting Laminate Cabinets
To ensure a safe and successful project when tackling how to paint laminate cabinets, it’s crucial to adhere to several safety precautions. These guidelines help protect not only your health but also the environment around you. Here’s what you need to know:
- Use Laminate-Specific Primer: Regular wood primers won’t adhere properly to laminate, which can cause paint to peel. Use a primer specifically formulated for laminate to ensure strong adhesion without the typical hazards of flaking.
- Minimal Sanding: Unlike wood, sanding laminate should be done sparingly and with fine-grit sandpaper. Excessive sanding can expose the particle board underneath, leading to moisture damage and material degradation.
- Specialty Paints: Employ paints designed for laminate surfaces. These paints are formulated to bond to laminate’s slick surface, reducing the risks associated with standard paints that can chip and peel prematurely.
- Personal Protective Equipment (PPE): Wear gloves, goggles, and a respirator mask. Protecting yourself from primer and paint fumes, as well as any particulate matter from cleaning and light sanding, is essential.
By following these safety precautions when learning how to paint laminate cabinets, you ensure a healthier work environment and a safer experience throughout your painting project.
Time Management for Painting Laminate Cabinets
Effective time management is essential when tackling a project like how to paint laminate cabinets, especially to ensure it’s done efficiently and with minimal disruption to your daily routine. Here’s how you can manage your time effectively, featuring tips and strategies by Prep Smart Painting to keep your project on track:
-
Preparation Phase (1-2 hours): Dedicate sufficient time to thoroughly clean the laminate surfaces with a mild detergent and a soft cloth to remove grease and dust. For light sanding, use fine-grit sandpaper gently to avoid damaging the surface. This step is critical as it prepares the laminate for optimal primer adherence.
-
Priming Phase (1-2 hours, plus drying): Choose a primer specifically designed for laminate. Apply a thin, even coat to avoid drips and ensure a smooth finish. Allow the primer to dry completely, which usually takes about 4-6 hours. This waiting period is essential for the primer to set properly and provide a strong foundation for the paint.
-
Painting Intervals (4-12 hours, including drying times): Select a high-quality paint that is compatible with laminate surfaces. Apply the first coat thinly and evenly, taking care not to overload the brush or roller. After the first coat, allow it to dry for 4-6 hours. Assess the coverage and apply a second coat if needed, allowing another 4-6 hours for drying. Proper drying between coats is crucial to prevent any tackiness or peeling.
-
Reassembly and Curing (24+ hours): After the final coat, it’s important to let the cabinets cure for at least 24 hours before reattaching hardware or loading them with items. This curing process ensures the durability and resistance of the paint against everyday use.
-
Overall Project Timeline (2-3 days): Plan for the entire project to span over a few days. This timeline allows for careful execution of each step without rushing any processes, which is particularly important for laminate to ensure long-lasting results.
By following these time management strategies from Prep Smart Painting, you can ensure that your how to paint laminate cabinets project is not only successful but also enjoyable, without feeling rushed or overwhelmed.
Conclusion
This guide provided by Prep Smart Painting has thoroughly explored the process of how to paint laminate cabinets, emphasizing the importance of each step—from preparing the surface with thorough cleaning and sanding to applying the right type of primer and paint for a long-lasting finish. By following these instructions, you ensure that your laminate cabinets not only receive a facelift but also offer enhanced durability and style that complements your home’s interior. This approach not only transforms the look of your cabinets but also ensures that the results are both beautiful and enduring.
FAQs
What if the paint isn’t adhering well to the laminate surface?
Ensure the surface was properly cleaned and sanded before applying primer. Laminate is slick, so without adequate preparation, paint may not stick. Consider re-sanding lightly and applying another layer of primer.
How do I fix drips or errors in the paint before it dries?
If you notice drips or uneven application, smooth them out immediately with a brush or roller. If the paint has already dried, sand the area lightly once dry and apply another thin coat of paint for a smooth finish.
How can I ensure the painted finish on my laminate cabinets lasts longer?
Use a top coat of clear polyurethane after the paint has fully dried to add an extra layer of protection against scratches and moisture. Choose a polyurethane that is compatible with your paint type for best results.
What should I do if I notice bubbles forming in the paint on my laminate cabinets?
Bubbles can form if the paint is shaken excessively or applied in a very humid environment. To fix this, wait for the paint to dry, sand the area lightly, and reapply the paint smoothly with a roller or brush in thin layers.
What’s the best way to clean my newly painted cabinets without damaging the paint?
Use a soft cloth dampened with water and a mild soap. Avoid abrasive cleaners and scrubbing sponges that can scratch the surface. For greasy spots, a vinegar and water solution can be gently applied then wiped off with a soft cloth.
How can I speed up the drying process between coats?
Increase air circulation in the room with fans and keep the area warm. Avoid applying paint in very humid conditions, as moisture in the air can prolong drying times.
What’s the best way to maintain the paint finish over time?
Regularly clean your cabinets with a mild cleaner and soft cloth to avoid buildup of dirt and grease, which can degrade the paint finish. Avoid harsh chemicals and scrubbing pads that can scratch or dull the finish.
Lorem ipsum dolor sit amet, consectetur adipiscing elit. Ut elit tellus, luctus nec ullamcorper mattis, pulvinar dapibus leo.