How to Refresh Trim and Molding Without Renovation
Fresh paint on the walls should make a room feel new. But sometimes it doesn’t, and the reason usually isn’t the paint at all. Scuffed baseboards, yellowed casings, or an outdated molding profile can quietly work against everything else you just updated.
This guide walks through several distinct, low-disruption ways to refresh trim and molding without renovation. Each option below stands on its own, so you can pick what fits your space, your timeline, and your goals.
Why You Can Refresh Trim and Molding Without Renovation
Trim work is one of the few home updates that delivers a highly visible, finished look. It skips the disruption and cost of a full renovation. It frames every doorway, window, and wall transition in a room. That’s why its condition affects how “finished” a space feels, even when your flooring, paint, and fixtures already look great.
A dated trim look tends to show up in a few predictable ways. Yellowing happens when older oil-based paints age and pick up a warm tint over time. Scuffing builds up near doorways, stair treads, and anywhere furniture brushes against a wall. Outdated profiles show up mostly in homes with builder-grade trim from the 1990s and early 2000s, when a narrow, flat profile was the standard choice.
None of these issues require touching drywall, flooring, or the room’s layout. That’s the real distinction between a renovation and a refresh. A renovation changes the bones of a space. A refresh changes the details that frame it.
Many homeowners assume a dated look means a bigger project is needed. In most cases, though, the issue is isolated to specific trim details you can address one at a time. That’s what makes finish carpentry work such a high-leverage update, especially if you’re preparing to list or stage a home.
Repaint or Refinish Existing Trim
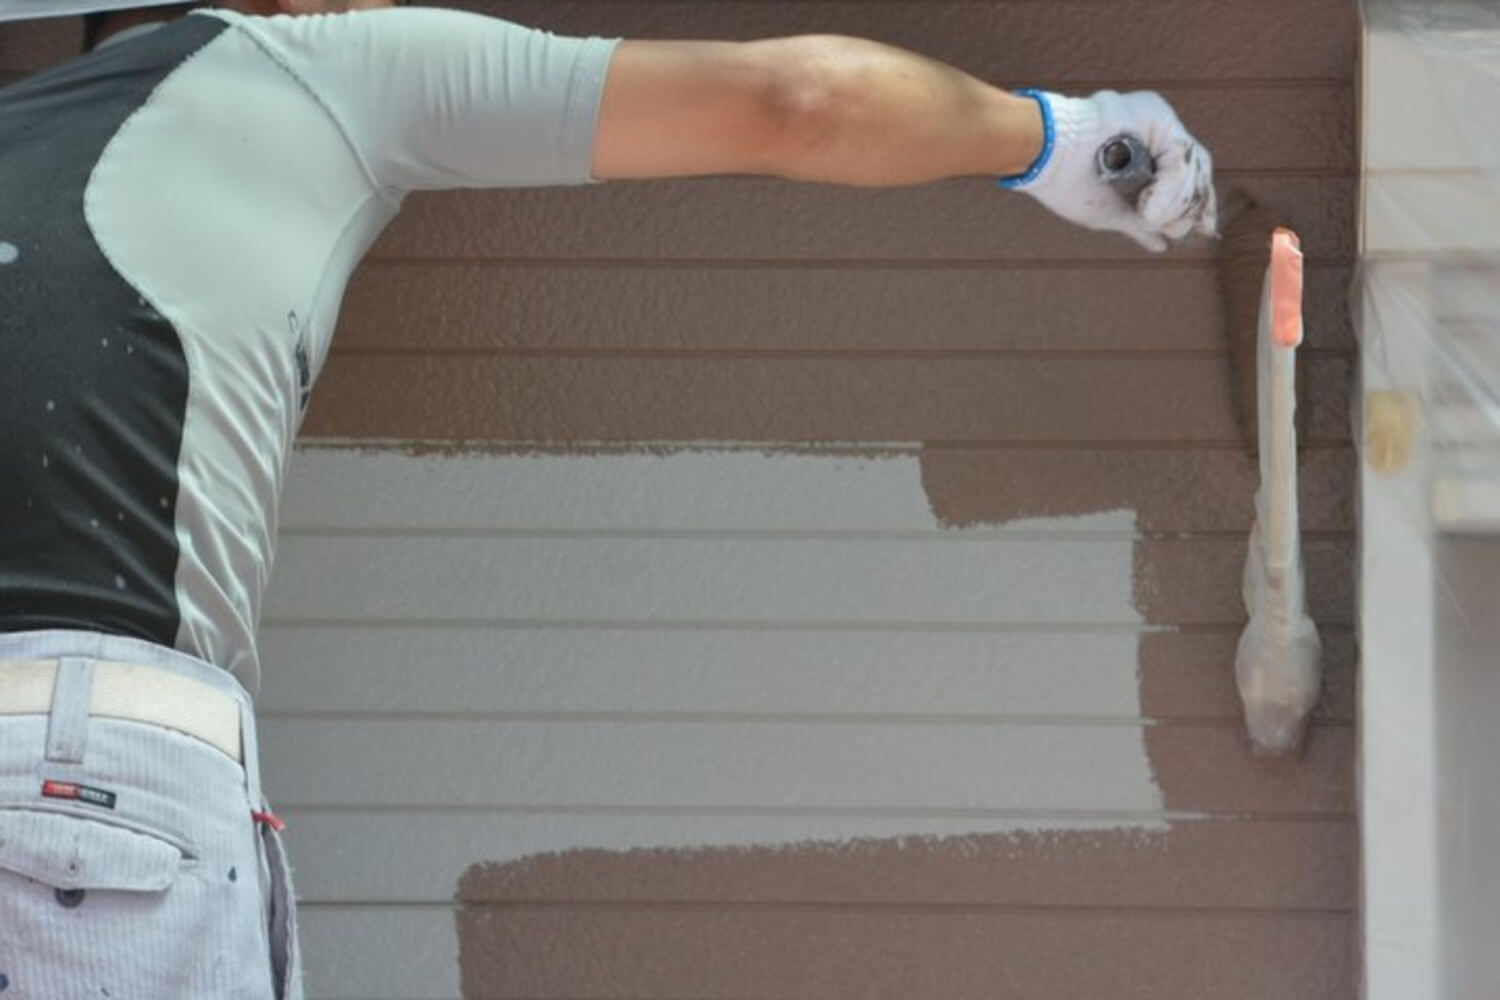
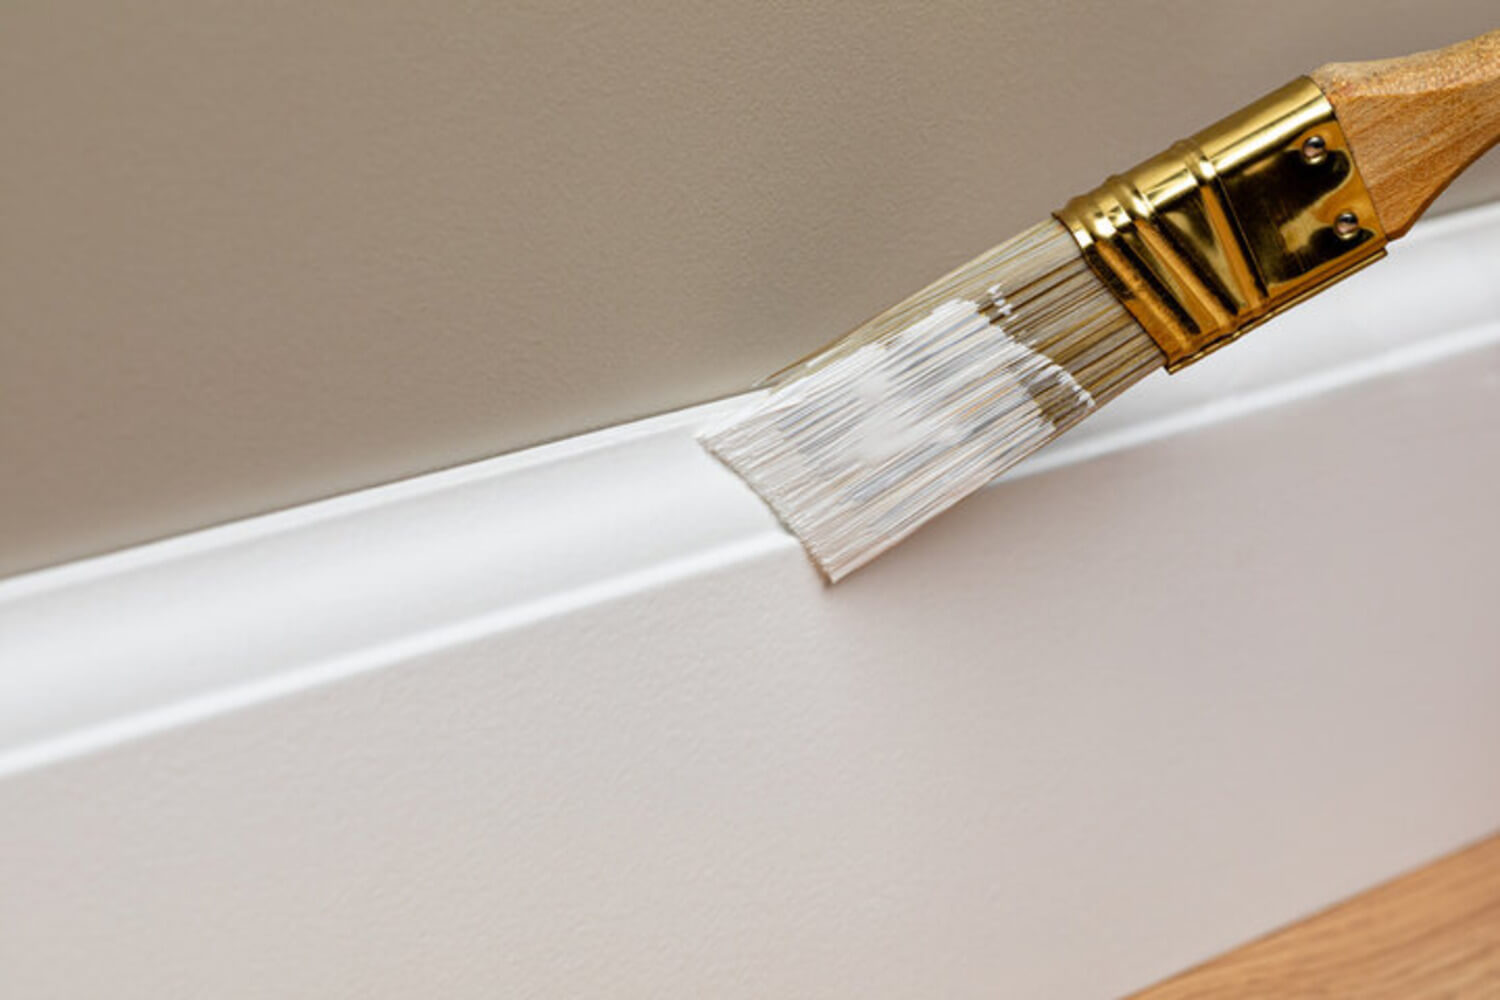
Repainting or refinishing trim that’s structurally sound but visually worn is usually the fastest option on this list. Most trim shows yellowing, scuffing, and small nicks well before it’s actually damaged. A clean repaint in a durable, easy-to-clean finish resets the look of an entire room.
Painted and stained trim need different approaches:
- Painted trim usually just needs cleaning, light sanding, and a fresh coat
- Stained or natural wood trim may need color-matching if only certain sections need touch-ups
- High-traffic trim benefits from a higher-sheen finish that holds up to cleaning
Surface prep drives most of the outcome here. Trim that’s gone through several repaints over the years often has small gaps at the joints where caulk has dried out, cracked, or pulled away. Filling those gaps and re-caulking before repainting keeps the finish looking clean instead of highlighting every seam.
Fill and sand nail holes, dents, and small chips smooth before any paint goes on. Skipping this step is one of the most common reasons a repainted trim job still looks tired. The paint might be new, but the surface underneath tells the same old story.
Degreasing and deglossing matter too, especially in kitchens, hallways, and anywhere trim gets touched often. A glossy factory finish won’t hold a new coat well unless it’s properly scuffed first. Professionals account for all of this before a single brush touches the wood, which is part of why the result holds up so much longer than a quick DIY pass.
This option alone often makes a bigger visual difference than homeowners expect. A professional interior painting approach to trim can make a room read as new, even when nothing else changed.
Replace Damaged or Outdated Baseboards
You can replace cracked, water-damaged, or outdated baseboards section by section. This work doesn’t require touching walls, flooring, or paint elsewhere in the room.
Baseboards take more physical wear than almost any other trim element. Vacuums, moisture from cleaning, and furniture contact all add up over time. Damage is often isolated to specific walls rather than spread through the whole room.
Material choice matters as much as profile when replacing baseboards. Solid wood holds up well in low-moisture rooms and takes paint or stain beautifully, but it costs more. MDF is more affordable and resists warping, which makes it a strong choice for most living spaces. It needs careful sealing in bathrooms or mudrooms where moisture is a regular factor.
Rooms with radiant heat or older plaster walls sometimes have baseboards that don’t sit flush anymore. In those cases, a professional checks for gaps behind the board before replacing it. A straight swap without addressing the underlying issue can leave the same problem showing up again within a year or two.
Profile matching matters here. A wider or more modern baseboard in just one room can look inconsistent with the rest of the house. Plan for that from the start. Chips along door frames and trim are often the first visible sign that a section needs attention before the rest of the room does. Replacing only the affected sections keeps the project contained and affordable.
Update Door and Window Casings
Door and window casings are one of the most overlooked trim details in a home. Updating them changes how an entire room reads, without any structural work involved.
Casing profiles vary more than most homeowners realize. Colonial casing, with its rounded, stepped profile, shows up often in homes built from the 1970s through the 1990s. Craftsman-style casing uses flat, simple boards and reads as more current in many markets today. Mixing the two styles across a single floor plan is one of the more common inconsistencies a trained eye catches immediately, even when each individual casing looks fine on its own.
Updating casings room by room, rather than tackling an entire house at once, keeps the project manageable. Starting with the entryway and main living areas delivers the strongest first impression. These are the spaces guests and buyers see before anything else.
Older homes often carry ornate, bulky, or mismatched casing styles left over from past renovations. Simplifying or refreshing them creates a more cohesive, current look throughout a space. You won’t need to remove or reset the doors and windows themselves, only the trim surrounding them.
Getting the prep right matters as much as the paint. If you’re weighing whether primer makes sense for your casings, the same factors that apply to walls apply here too. These factors include surface condition, existing finish, and the color you’re moving toward. Consistent, updated casings throughout your main living areas create a sense of intentional design. Buyers and guests notice, even if they can’t name why the space feels more polished.
Add Crown Molding to Key Rooms
Adding crown molding to a single room, like a living room, primary bedroom, or dining room, adds a finished, higher-end feel. You don’t need to commit to a whole-house project to see the benefit.
Scale matters more with crown molding than with almost any other trim decision. A large, ornate profile can overwhelm a room with standard eight-foot ceilings. A slim, simple profile can look underwhelming in a space with nine or ten-foot ceilings and larger proportions.
Material choice also affects both cost and installation complexity. Traditional wood molding offers the most authentic look and is easiest to paint or stain to match existing trim, but it takes longer to install and costs more upfront. Polyurethane and foam molding install faster and resist cracking from humidity swings. That makes them a practical option in rooms where budget or timeline matters more than matching a historic wood profile exactly.
Crown molding reads as a deliberate design choice rather than a necessity. That perception alone makes it an effective way to elevate a specific room’s value. Room selection matters more than most homeowners expect:
- Choose the rooms buyers or guests spend the most time in
- Avoid spreading a limited budget across every room in the house
- Consider how the molding color pairs with your walls and trim
Trim and baseboard color choices have shifted in recent years, and crown molding is a natural place to apply that thinking. A single well-chosen room with new crown molding often creates a stronger impression than the same budget spread thin.
Refresh Trim Inside Closets and Around Built-Ins
Closets and built-ins are easy to skip during a trim update. But they’re exactly the kind of detail buyers and guests notice when they open a door or look closely.
These spaces often keep their original, unfinished, or damaged trim long after the rest of a room gets updated. That creates a jarring contrast during a closer inspection. If your built-ins include cabinetry, pair the trim work with built-in cabinetry refinishing. Treating them as one project creates a more cohesive result.
A few specific spots get missed most often. Homeowners rarely repaint closet door tracks and jambs along with the rest of a room, since they’re easy to forget once the door is closed. Shelf edges inside closets and linen cabinets pick up scuffs from years of use, but a standard repaint almost never covers them. Built-in bookshelves and window seats often carry trim details that don’t match the surrounding room, since a different contractor installed them at a different time.
This is typically a small, contained scope of work. Closets and built-ins involve far less trim footage than an entire room. Addressing these details signals thoroughness and care, which matters most during a showing when buyers are actively opening doors and looking closely.
Why This Work Pays Off Most Before Listing or Staging
Trim and molding work delivers a disproportionately strong return relative to its cost and disruption. That’s exactly why it matters most in the window before listing or staging a home.
Buyers form impressions quickly during a showing. Small trim details either reinforce a sense of care and quality, or they quietly undercut it. Getting this right before photos or an open house pays off more than almost any other low-disruption update available.
Not sure which updates would make the biggest difference in your home? We’re glad to walk through it with you. Reach out to schedule a consultation and find out exactly where to focus before your next showing.