What to Expect During Exterior House Painting in Warwick
If you’re considering exterior house painting in Warwick this fall, you probably want to know what actually happens once you book a project. Not just whether fall is a good season. Not knowing what to expect can catch you off guard. Project length, daily disruption, and weather delays can all feel stressful if nobody walks you through them first.
Here’s a full walkthrough of the process. It covers inspection and quote, coastal climate factors, property prep, surface work, priming and painting, weather contingencies, and the final walkthrough.
Inspecting Your Home and Building the Quote
Every project starts with an inspection of your home’s current siding condition. A contractor identifies problem areas like peeling, rot, or previous paint failures. That assessment directly shapes your proposed timeline and scope.
A thorough inspection accounts for repair work upfront. That way nothing surprises you once the crew is already on-site. Homes with multiple siding materials often need separate prep approaches. Wood trim alongside vinyl or fiber cement is a common example, and a good inspection catches that early.
Some signs are easy to spot on your own before you even call for a quote. Watch for:
- Fading or chalking paint that transfers onto your hand when you touch it
- Peeling or flaking sections, especially near trim and corners
- Cracking or checking in the paint film
- Bubbling or blistering on sun-exposed walls
- Bare wood where paint has worn away completely
If you want a closer look at what to watch for, our breakdown of the signs your exterior needs repainting covers each one in detail. An accurate inspection and quote keeps the rest of the timeline realistic. Nothing shifts once work begins.
The quote itself typically breaks down labor, materials, and any repair work separately, so you can see exactly what you’re paying for. Most Warwick contractors also outline a rough start date range at this stage. The exact date often depends on weather and how far out their fall schedule has already filled.
Accounting for Warwick’s Coastal Fall Climate
Warwick’s proximity to Narragansett Bay means fall brings humidity swings and salt air alongside the usual cooling temperatures. All three affect how paint cures on your home.
Salt air and coastal humidity can slow drying more than inland fall conditions do. They can also affect adhesion. That’s why local experience matters more than generic fall painting advice you might find online. Many homeowners assume fall simply means cooler weather. They don’t account for the coastal humidity and shortening daylight hours that actually drive scheduling decisions.
We’ve covered the broader timing question in detail if you’re curious whether fall works for exterior painting in general. For Warwick specifically, a project timeline built around local coastal conditions holds up better than one based on generic regional advice.
Homes closer to the water often need an extra day or two of buffer built into the schedule. Morning fog and overnight dew tend to linger longer near the bay than they do further inland, which pushes back the earliest safe start time on some mornings.
Preparing Your Property Before the Crew Arrives
You’ll typically need to handle a few things before the crew shows up:
- Move vehicles away from the work area
- Trim back shrubs or plantings touching the house
- Secure pets somewhere away from doors and gates
- Clear exterior access points like gates and walkways
- Take down anything hanging on exterior walls, like planters or string lights
Crews need unobstructed access to every surface they’re painting. Overlooked obstacles cause real delays. Parked cars, overgrown landscaping, or locked gates are the most common culprits on day one.
You don’t need to stay home for most of the project. You should expect noise and crew presence during working hours, though. A property that’s ready on day one keeps the whole project on schedule from the start. You avoid losing time to avoidable setup delays.
It also helps to let a contractor know in advance about anything unusual on the property, like a dog that isn’t comfortable with strangers or a gate that needs a specific code. Small details like this rarely derail a project, but flagging them ahead of time keeps the first morning running smoothly.
Prepping the Surface Before Any Paint Goes On
Surface preparation almost always takes longer than the actual painting. This phase includes:
- Scraping loose or peeling paint
- Sanding rough or uneven areas
- Power washing to remove dirt, mildew, and grime
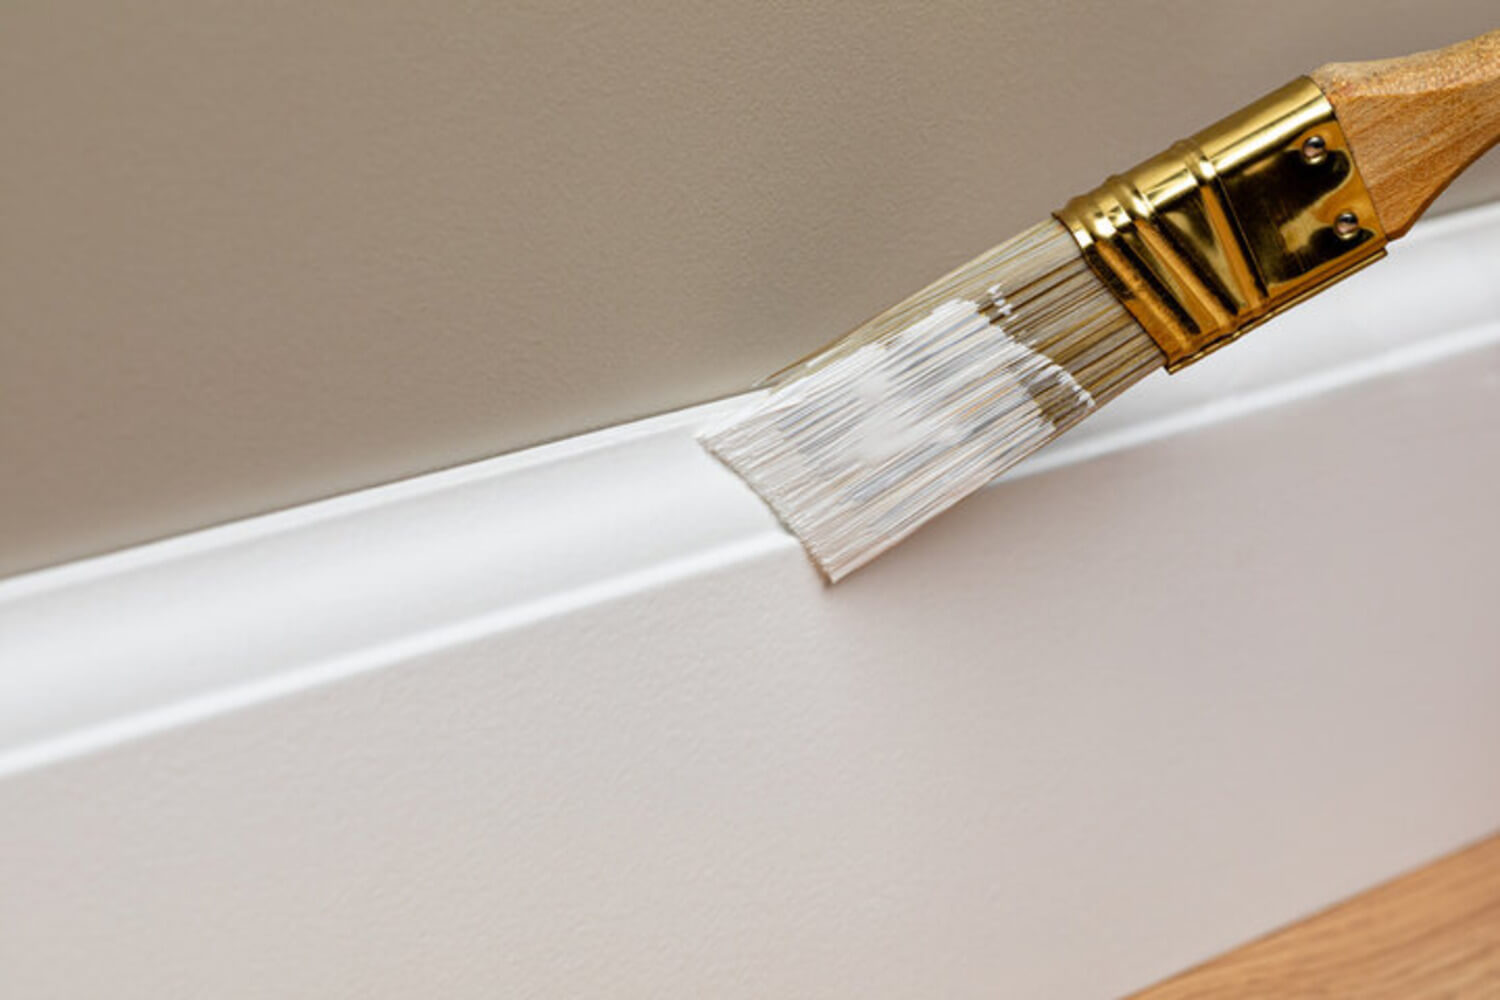
- Caulking gaps around trim, windows, and doors
- Repairing damaged or rotted wood
Paint only performs as well as the surface underneath it. Skipping or rushing prep is the most common reason a paint job fails early. Homes with significant peeling or previous paint failures need more extensive scraping and priming than well-maintained homes. That extends this phase accordingly.
Our exterior painting process leans heavily on this phase for a reason. Time spent here determines whether your finished paint job lasts five years or fifteen.
Rotted wood trim gets special attention during this phase. A contractor either replaces the damaged section outright or digs out the soft wood and rebuilds it with epoxy filler, depending on how far the damage has spread. Either approach costs more than simply painting over the problem, but painting over rot almost always leads to a repeat repair within a year or two.
Power washing in particular needs a full day to dry before any priming or painting starts. That’s easy to overlook when you’re estimating how long the whole project will take. Crews typically wash one section of the house, move to prep work elsewhere while it dries, and circle back once conditions allow.
Priming and Painting Day by Day
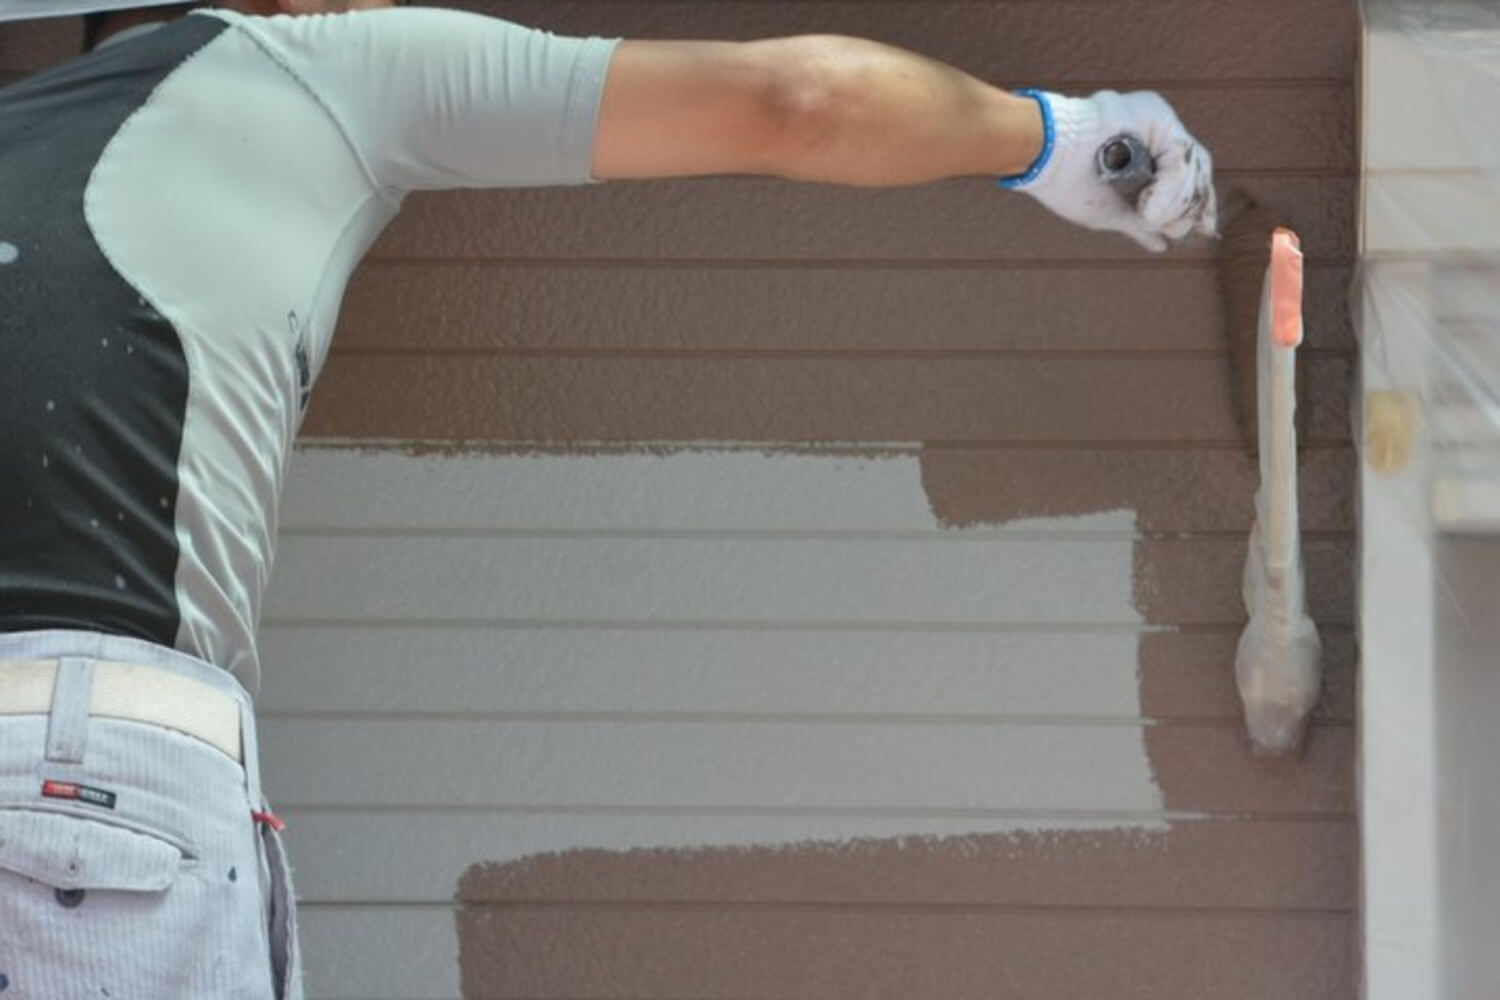
Most projects involve one coat of primer where needed. That’s followed by two coats of finish paint. In cooler fall conditions, drying time between coats extends.
Crews adjust their daily schedule around dew point and temperature. They often start later in the morning to avoid condensation. They wrap up earlier as daylight shortens. That’s why a crew’s daily start and stop times may shift slightly day to day instead of following a fixed schedule.
This adjustment protects the quality of your finish. Racing through the schedule regardless of conditions isn’t worth the risk.
Color application order matters too. Crews typically tackle the main body color first, then trim, then any accent colors last. Working in this order keeps overspray and drips off of surfaces that are already finished, which cuts down on touch-up work at the end.
You can generally expect visible progress every day the crew is on-site, even if that progress looks different depending on the phase. One day might be almost entirely prep and masking, with very little new paint color showing by the end. That’s normal, and it usually means the following day’s painting goes faster as a result.
Handling Weather Delays Along the Way
A rainy or unexpectedly cold stretch mid-project typically pauses work for a day or more. The schedule adjusts. The crew doesn’t push through in poor conditions.
Painting in the wrong conditions compromises adhesion and curing. A short pause protects your investment. It’s worth the wait rather than risking a redo. A weather delay isn’t a sign something has gone wrong. It’s a normal, expected part of fall exterior painting that a reputable contractor plans around.
If you’d rather understand your ideal window before you book, our guide on scheduling exterior painting walks through how to think about timing before weather becomes a factor. Homeowners who understand this going in experience far less frustration than those expecting a rigid, uninterrupted timeline.
A good contractor communicates delays as they happen rather than leaving you to guess. Most will give you a revised estimate for the next workable day as soon as the forecast firms up, so you’re never left wondering when the crew is coming back.
It helps to build a few extra days of flexibility into your own expectations from the start. A project quoted at five days can stretch to seven or eight. Factor in a realistic chance of at least one weather pause during a Warwick fall.
What to Expect During Exterior House Painting, From Quote to Final Walkthrough
Expect a true start-to-finish process. Inspection, climate-informed scheduling, property prep, surface work, priming and painting, and weather flexibility all play a part. That full sequence is what separates a realistic, stress-free project from one full of surprises.
A final walkthrough is your chance to review touch-ups. You confirm the work meets your expectations before you sign off. You can see our full step-by-step painting process for Warwick homeowners if you want to see exactly how each phase fits together.
Ready to get a Warwick-specific timeline for your own property? Request your free estimate today and find out exactly what to expect before the fall window closes.